WORD Tutorial

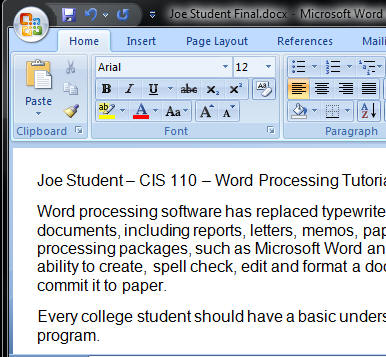
In this tutorial you will create and save a draft word processing document using Word 2010. You will then open the draft document, make changes to it and save it as a final document with a different name.(Note: images shown below are from Word 2007 which is very similar in appearance to Word 2010.) When you enter the text below, be sure to substitute your own first and last name where ever Joe Student is shown in this tutorial.

STEP 1 - Start Word and create a double-spaced draft document:

  • Launch the Word 2010 program.
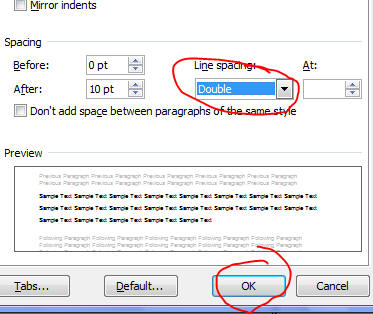
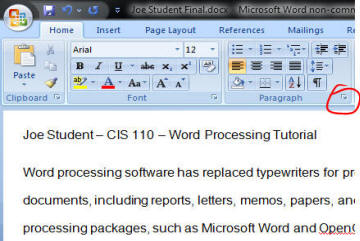
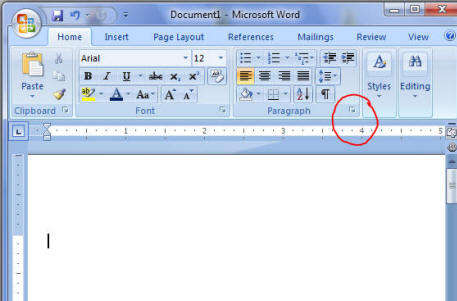
  • Click the expand icon on the lower right edge of the Paragraph tool bar in the ribbon to open the Paragraph dialog box.
Click the drop down box for Line spacing on the Indents and Spacing tab ...
  • Choose Double for Line spacing.
  • Click the OK button.

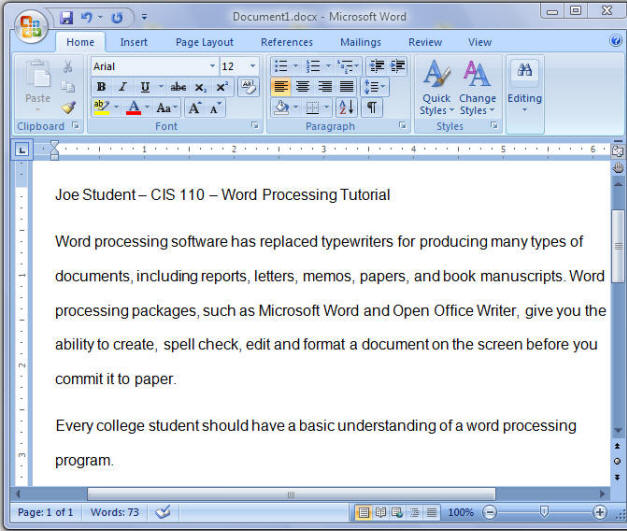
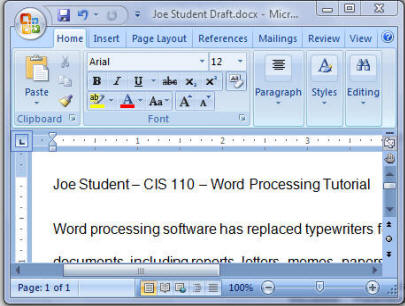
  • Type: Joe Student - CS 5 - Word Processing Tutorial and then press the <Enter> key to end the title and skip to the next paragraph.

  • Continue to type the following text ... (NOTE: do NOT press the enter key until all of the paragraph has been entered.)

    Word processing software has replaced typewriters for producing many types of documents, including reports, letters, memos, papers, and book manuscripts. Word processing packages, such as Microsoft Word and Open Office Writer, give you the ability to create, spell check, edit and format a document on the screen before you commit it to paper.

    ....and then press the <Enter> key to mark the end of this paragraph and begin the next paragraph.

  • Now an a seperate paragraph type...

    Every college student should have a basic understanding of a word processing program.

    .....and then press the <Enter> key.
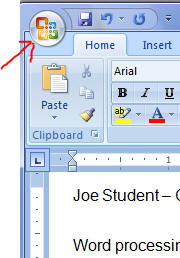
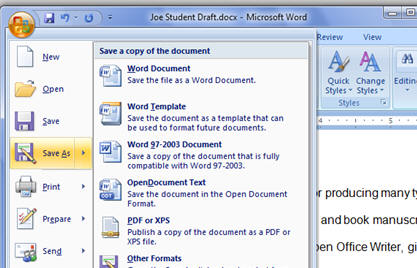
  • Click the Office Icon on the upper left corner of the window
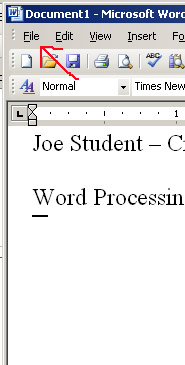
    (the picture shows Word 2010's Office button which was changed from the File menu button in every previous version of Word)
  • Choose the Save As Option from the Menu
  • Save the file on your student data disk (USB
    flash drive) as Joe Student Draft.docx
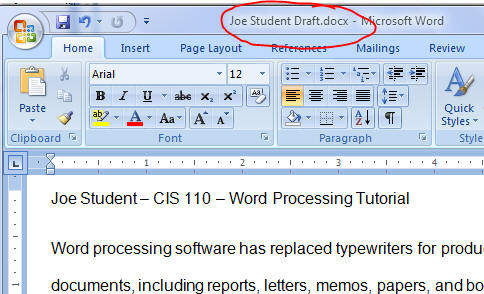
    Note that the title changes to show the name of the file.

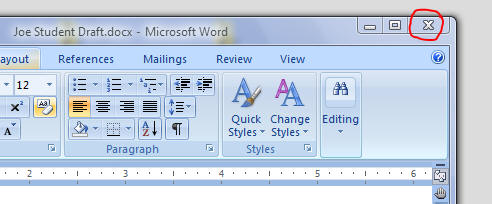
Close Word by clicking the Close button at the top right of the window.

STEP 2 - Open the existing draft document and create a new final document:

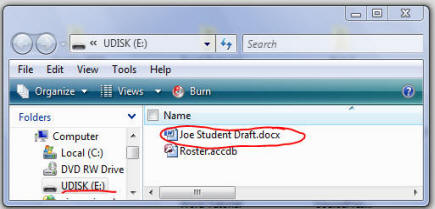
Locate the Joe Student Draft.docx file that you just created on your student data disk using the Windows Explorer and double click the Word icon to re-open the draft document in Word.

Windows Explorer can be launched in various ways including a right click of the start menu. It is used to find things on your computer.
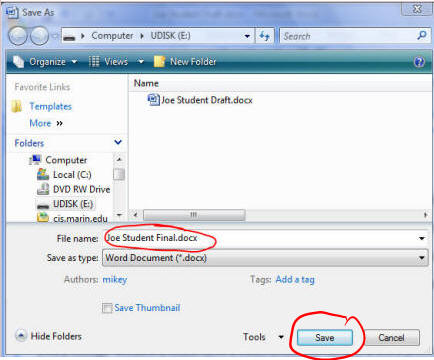
  • As you did before, click the File menu button... and choose the Save As option
  • This time, name the file Joe StudentFinal.docx
  • Click the Save button.

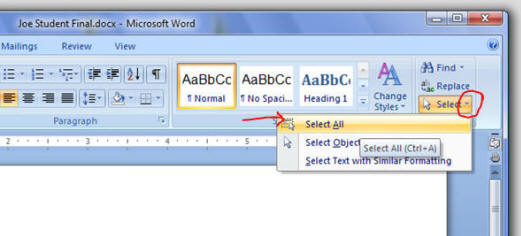
  • Click the Select button drop down arrow
  • Choose Select All
  • Just as you did at the beginning of the tutorial, click the expand icon on the lower right edge of the Paragraph tool bar in the ribbon to open the Paragraph dialog box.
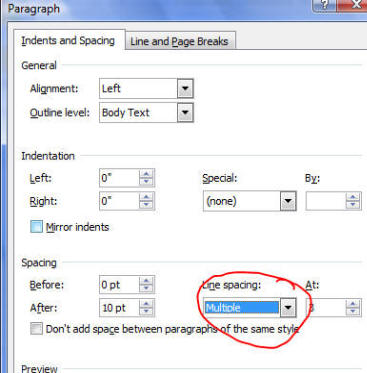
  • This time you will set the Line spacing to Single to produce a single spaced final document.
  • Save the changes you have made.


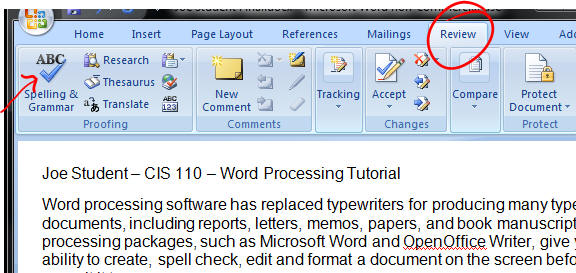
  • It is a good idea to run the final document through Spell Checker, which you will find on the Review tab of the Ribbon.
  • If you make any changes, for example if the spell checker finds a misspelled word be sure to Save the document again.
  • You should now have two documents: a draft and a final version.

Return to CS 5 Examples Page